How To Clean The Mixing Head Of The Fully Automatic PU Sandwich Panel Line Regularly?
Publication Date: Oct 6, 2026
Regular cleaning of the mixing head is critical for fully automatic PU sandwich panel lines to avoid foam residue blockages, ensure stable mixing quality, and extend equipment service life.
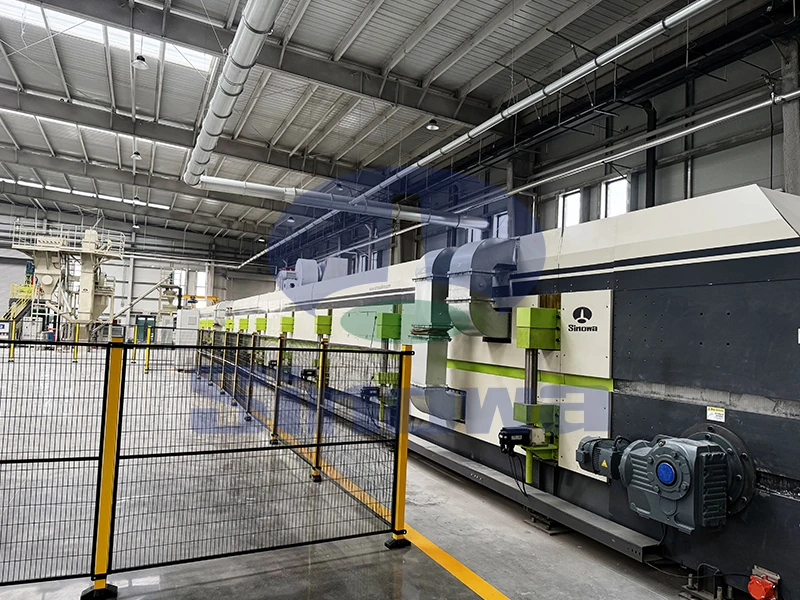
Before initiating any cleaning work on the PU sandwich panel line’s mixing head, thorough pre-operation preparation is essential to ensure operational safety and cleaning efficiency. First, operators must completely shut down the entire production line and cut off all power and air pressure supplies to eliminate risks of accidental equipment startup or pressure leakage during cleaning. It is necessary to wait for the mixing head and internal materials to fully cool down, as residual high temperature may cause rapid solidification of residual PU foam and scald operators. Next, prepare dedicated cleaning supplies, including professional PU cleaning agents, soft bristle brushes, clean lint-free cloths, and sealed waste collection containers. Abrasive tools such as steel wool and corrosive chemical cleaners must be avoided, for they can scratch the precision inner wall of the mixing head and damage internal sealing components. Operators should also wear protective gloves and goggles to prevent cleaning agents and residual foam from contacting skin and eyes. Finally, conduct a simple visual inspection of the mixing head surface and pipeline interfaces to record obvious residual buildup and loose parts, laying a targeted foundation for subsequent formal cleaning work.
Daily superficial cleaning serves as the most basic routine maintenance for the mixing head, aiming to remove fresh and unconsolidated PU foam residues generated during daily production. After each production batch is completed, wait for the equipment to enter a static standby state first, then wipe the outer surface of the mixing head repeatedly with a dry lint-free cloth to remove floating dust, scattered foam debris, and surface oil stains. Special attention should be paid to gaps around the nozzle, movable piston parts, and pipeline connection ports, where tiny residues are prone to accumulation. For slightly adhesive fresh foam residues that cannot be removed by dry wiping, dip the cloth in a small amount of diluted professional cleaning agent and wipe gently until the surface is smooth and clean. It is crucial to avoid excessive cleaning agent residue on the equipment surface, as long-term residual chemicals may corrode the metal shell and plastic accessories of the mixing head. This daily cleaning process takes a short time but effectively prevents superficial residues from accumulating and solidifying into stubborn dirt, maintaining the basic working state of the mixing head and avoiding minor surface blockages that affect preliminary material spraying accuracy.
Weekly in-depth internal cleaning is a key step to eliminate hidden blockages inside the mixing head and ensure unobstructed internal material circulation. On the basis of daily surface cleaning, first release the residual pressure inside the material tank and mixing cavity to zero to prevent residual pressure from ejecting materials or cleaning agents during disassembly and cleaning. Then, follow the standard operating sequence to gently disassemble the detachable parts of the mixing head, including the nozzle sleeve, outer baffle, and auxiliary sealing gaskets, and place all disassembled parts in a clean and dry container to avoid collision and abrasion. Soak these small precision parts in a professional PU cleaning agent for an appropriate period to fully dissolve the semi-solidified PU foam residues attached to gaps and surfaces. After soaking, use a soft bristle brush to clean the tiny gaps and inner holes carefully, and rinse repeatedly with clean solvent until no residual foam impurities remain. For the fixed mixing cavity inside the main body of the mixing head, inject a quantitative cleaning agent, start the equipment’s low-speed self-circulation mode, and let the cleaning agent fully flow and scour every corner of the mixing cavity to dissolve internal residual materials.
Monthly thorough disassembly and maintenance cleaning can effectively solve stubborn solidified foam residues that cannot be removed by daily and weekly cleaning, ensuring the long-term precision operation of the mixing head. Before thorough disassembly, confirm that all power, gas, and material supply systems are completely closed and locked to achieve absolute safety. Disassemble the core components of the mixing head step by step, including the mixing spindle, internal piston assembly, and material diversion channels, and mark each part in order to avoid assembly errors. Most solidified PU foam residues adhere to the inner wall of the diversion channel and the surface of the mixing spindle; these aged residues have high hardness and strong adhesion, so long-term soaking with high-efficiency cleaning agents is required to soften them. After the residues are completely softened, use a soft brush and special cleaning tools to remove them slowly, and never use hard tools to pry or scrape violently to prevent scratching the precision thread structure and smooth inner wall of the components. After cleaning all parts, inspect each component for wear, deformation, or aging damage while ensuring no residue remains.
Cleaning and replacement of sealing accessories is an indispensable part of regular mixing head maintenance, as sealing components are vulnerable to residue corrosion and aging wear. During daily and regular disassembly cleaning, focus on inspecting and cleaning all sealing gaskets, rubber rings, and joint sealing parts of the mixing head. These flexible accessories are easy to adsorb residual foam and cleaning agent impurities, which will cause sealing failure, material leakage, and mixing pressure instability if accumulated for a long time. Wipe the surface of sealing parts with a soft cloth dipped in a mild cleaning agent, and clean the tiny gaps of embedded sealing rings carefully. For slightly aged and deformed sealing accessories that still meet usage standards, clean and dry them thoroughly before reinstallation. For severely corroded, cracked, or permanently deformed sealing parts that cannot ensure sealing performance, replace them with new matched accessories in a timely manner. After replacement, ensure all sealing parts are installed in place and evenly stressed to avoid gaps, which can effectively prevent material mixing errors and equipment failures caused by poor sealing.
Post-cleaning inspection and assembly calibration directly determine the cleaning effect and subsequent production stability of the mixing head. After completing all cleaning and accessory replacement work, dry all cleaned parts naturally in a dust-free and ventilated environment; do not use high-temperature baking, as high temperature will deform precision parts and age sealing accessories. After all parts are completely dry, assemble the mixing head components in the original disassembly order strictly, ensuring each part is tightly fitted and fixed without loose or misplaced installation. After assembly, conduct a manual inspection of the movable parts of the mixing head to check whether the piston and spindle move flexibly and whether the nozzle is unobstructed. Then, turn on the equipment’s low-pressure test mode, conduct empty circulating flushing with clean solvent again, and observe the fluidity of the solvent and the tightness of each joint. Confirm that there is no material leakage, jitter, or blockage during the operation of the mixing head, and calibrate the mixing initial state to ensure the equipment returns to the standard working state for formal production.
Reasonable cleaning frequency formulation is crucial to balance cleaning effect and production efficiency, avoiding excessive cleaning waste or insufficient cleaning leading to equipment failure. The cleaning cycle needs to be adjusted appropriately according to the daily production volume, material types, and operating environment of the PU sandwich panel line. For continuous high-intensity production scenarios, daily surface cleaning must be strictly implemented, and weekly internal cleaning should be appropriately advanced to reduce residue accumulation speed. For low-frequency production lines with intermittent operation, daily cleaning can be simplified slightly, but thorough cleaning must be carried out before each shutdown and restart to prevent residual materials from solidifying during standby. Monthly thorough disassembly and deep cleaning is suitable for all production scenarios, which can thoroughly eliminate hidden dangers of long-term residue accumulation. In addition, in high-dust and humid working environments, the surface of the mixing head is more prone to dust and moisture adhesion, so the frequency of surface wiping and accessory inspection cleaning needs to be increased appropriately to adapt to the complex operating environment.
Standardized waste disposal after cleaning helps maintain a clean production environment and avoid secondary pollution and equipment damage. The waste generated during mixing head cleaning includes waste cleaning agents, dissolved foam residues, and discarded old sealing accessories, all of which need classified and standardized disposal. Collect waste liquid such as used cleaning agents and solvents in special sealed containers uniformly, and do not pour them randomly to prevent environmental pollution and ground corrosion. Solid waste such as foam residues and cleaned dirt debris should be sorted and placed in dedicated waste bins, and cleaned up in a centralized manner regularly. Discarded aging sealing parts and damaged small accessories need to be classified as mechanical waste for professional disposal, and cannot be mixed with ordinary domestic waste. After cleaning and waste disposal, clean the entire operating area of the mixing head, wipe the equipment surface and operating platform again, and ensure no residual cleaning agent, foam debris, or sundries are left around the equipment, creating a clean and tidy working environment for the next production operation.
Common cleaning mistakes and avoidance methods are important guarantees to improve cleaning quality and protect precision equipment components. Many operators tend to use hard tools such as steel brushes and screwdrivers to scrape stubborn residues quickly, which is the most common wrong operation that will scratch the smooth inner wall of the mixing head, destroy the precision fit gap of components, and lead to subsequent material mixing unevenness and pressure leakage. In addition, excessive use of high-concentration corrosive cleaning agents will accelerate the aging of metal parts and rubber accessories and shorten the service life of the mixing head. Another common mistake is incomplete assembly and omission of small parts after cleaning, which will cause equipment jamming and operational failure. To avoid these problems, operators must follow standardized soft cleaning processes, use matched professional cleaning agents in standard proportions, and check and count parts one by one during assembly. Regular operational training and cleaning effect inspection can further standardize cleaning operations and reduce human error.
Long-term regular cleaning and maintenance of the mixing head bring significant value to the stable operation of the fully automatic PU sandwich panel line. Scientific and standardized daily, weekly, and monthly cleaning can effectively eliminate material blockages, ensure the uniform mixing ratio of PU raw materials, and thus stabilize the quality of finished sandwich panels, reducing product defects such as uneven foaming and poor bonding. Timely removal of corrosive residues and replacement of aging accessories can reduce equipment wear and failure rates, greatly extending the service life of the core mixing head components. Standardized routine maintenance also avoids frequent equipment shutdown and overhaul caused by poor cleaning, effectively improving the continuous production efficiency of the entire line, reducing production costs caused by equipment failure and product scrapping, and providing a stable and reliable guarantee for long-term and high-quality production of PU sandwich panels.
Gallery of Fully Automatic PU Sandwich Panel Line
Tags: fully automatic pu sandwich panel line, fully automatic pu sandwich panel line manufacturer, fully automatic pu sandwich panel line supplier, china fully automatic pu sandwich panel line, fully automatic pu sandwich panel line for sale
-
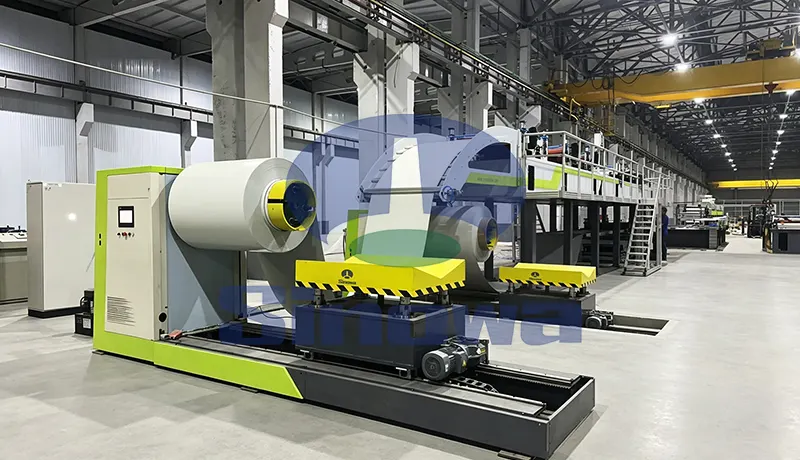
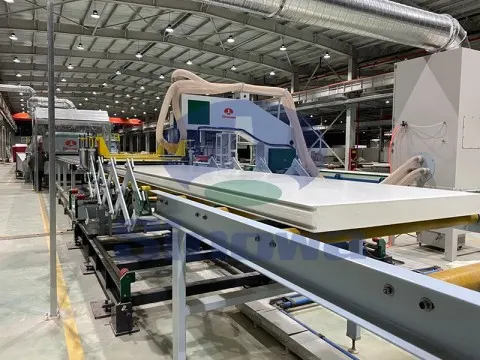
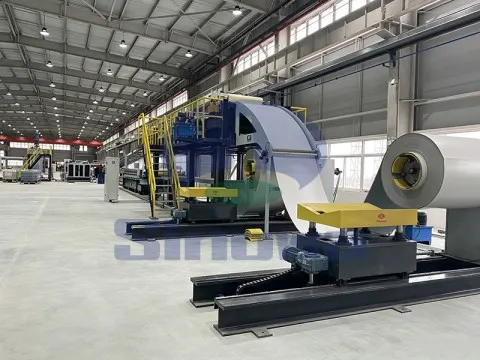
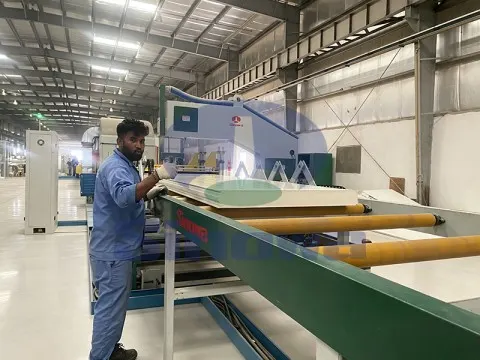
A reliable PU sandwich panel production line serves as the core equipment for manufacturing high-performance building insulation panels. This professional PU sandwich panel line features automated feeding, foaming and molding processes to ensure consistent panel thickness and structural stability. The well-designed polyurethane sandwich panel production line effectively improves production efficiency while reducing material waste in daily operation. Each calibrated polyurethane sandwich panel line can adapt to different panel sizes to meet diverse construction needs. With precise temperature and pressure control, the advanced continuous PU sandwich panel line produces panels with excellent thermal insulation and weather resistance. Meanwhile, the optimized PIR sandwich panel production line upgrades the foaming formula to enhance fire resistance performance. The high-efficiency PIR sandwich panel line maintains stable operation during long-term mass production, delivering durable and high-quality sandwich panels for various architectural and industrial applications.
-
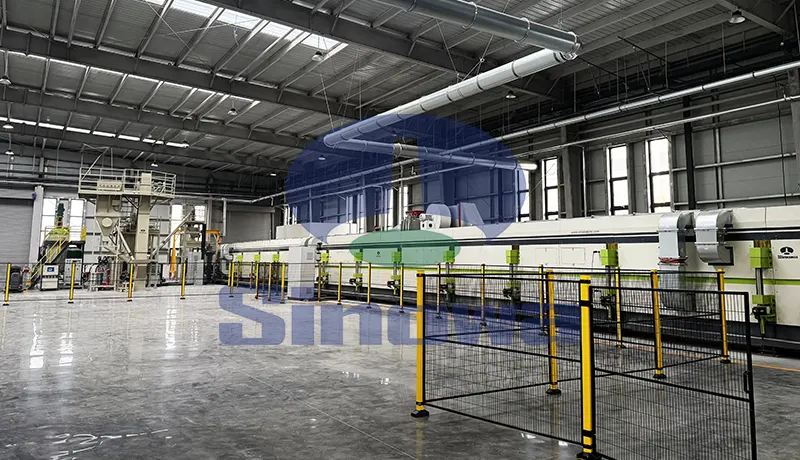
The phenolic panel production line realizes automated and continuous manufacturing of high-performance thermal insulation panels through streamlined and coordinated processing procedures.
-
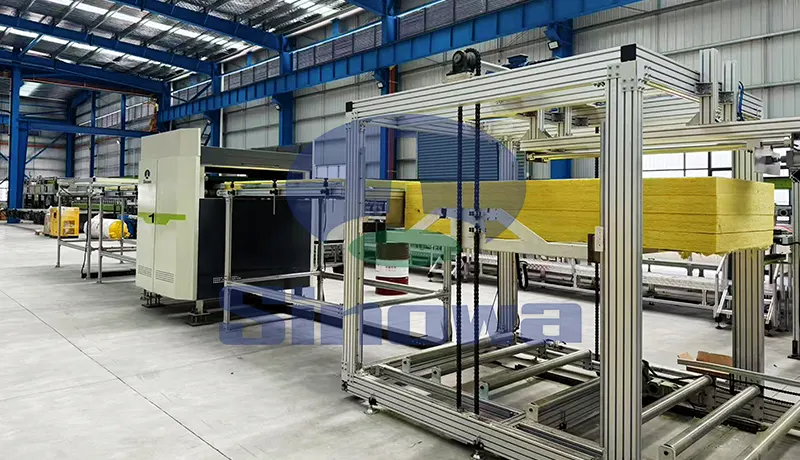
Modern insulation panel manufacturing relies on professional automated equipment to ensure stable product quality and high production efficiency. The rock wool sandwich panel production line features precise material lamination and forming processes to produce rigid, heat-insulating building panels. Meanwhile, the mineral wool sandwich panel production line adopts optimized assembly procedures to fabricate lightweight, soundproof panels widely used in architectural enclosure and thermal preservation projects.